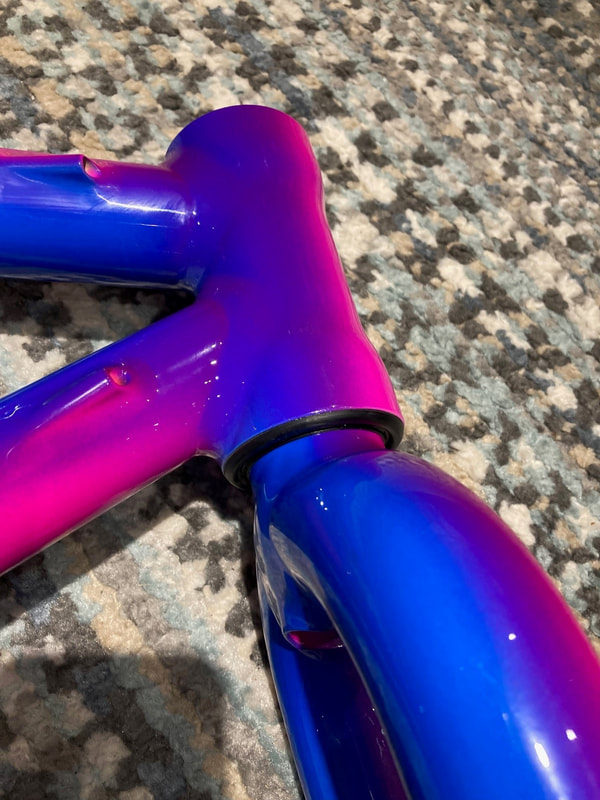
Klein MC1 Fork Removal (Using parts from MC2 toolset)
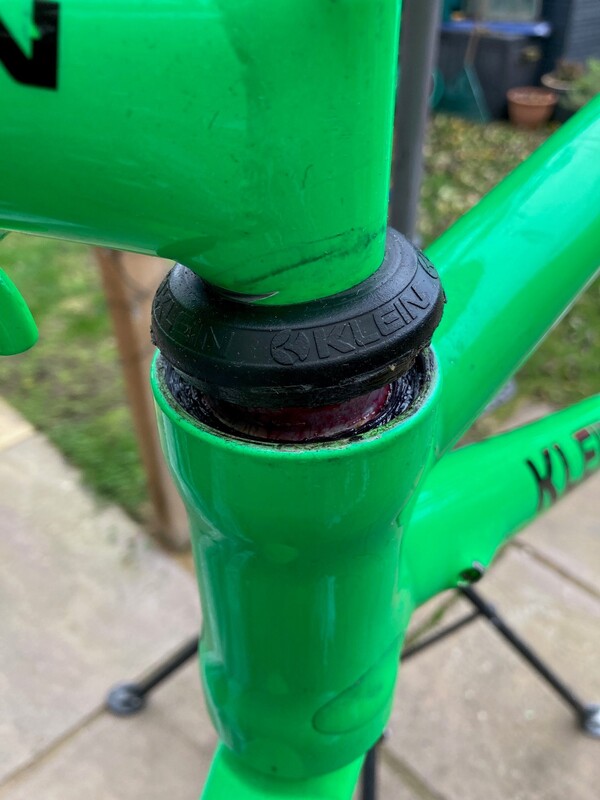
Remove Stem and Upper Seal. (Seal may be glued so use glue remover and gradually release)
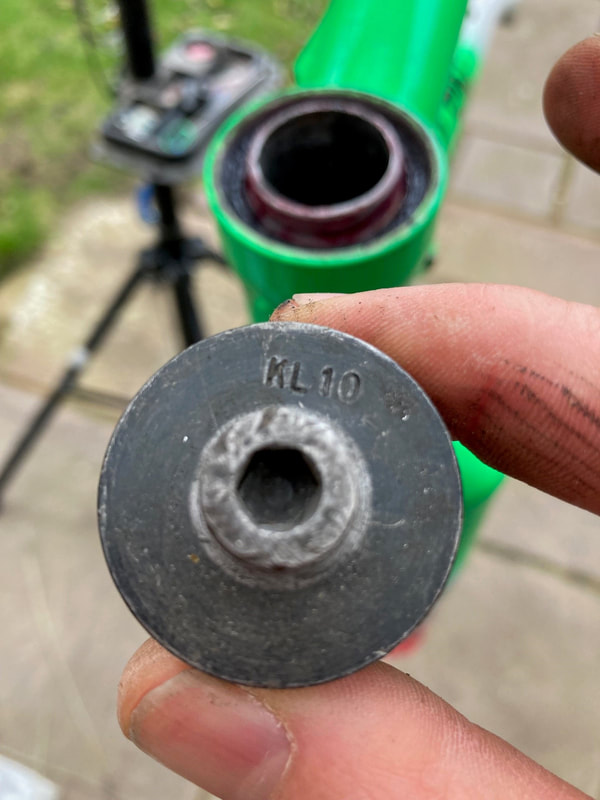
Use the K10 drift and attach to the shaft with the bolt provided
See Below for config
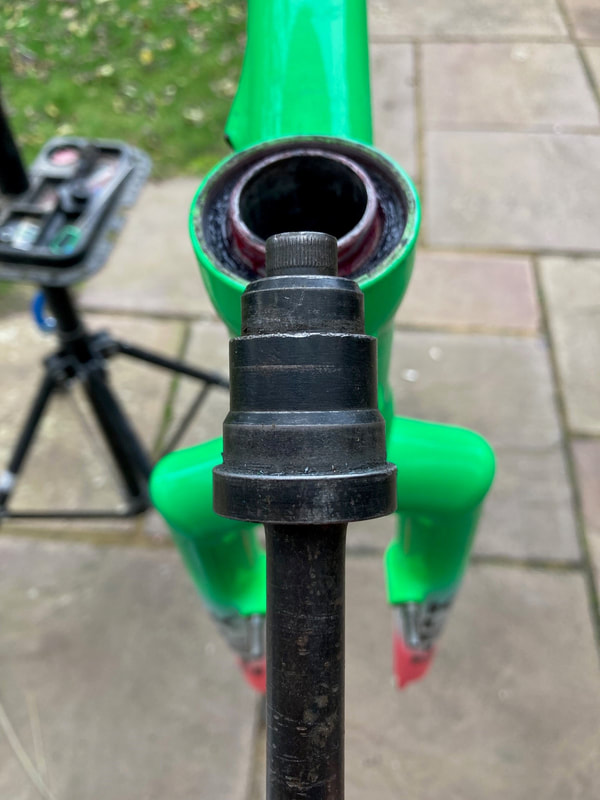
Hold the bike in a stand by the seat post.
Use a 2.5lb Hammer to knock the fork down and out.(Onto a soft surface) Sometimes it will drop straight out sometimes it will drop to the lower bearing position. Again strike down and out squarely.
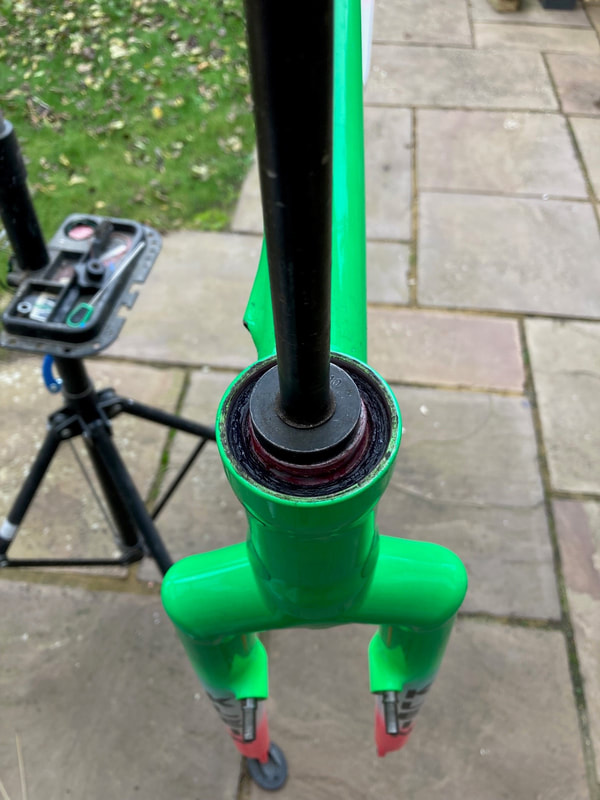
Fork removed
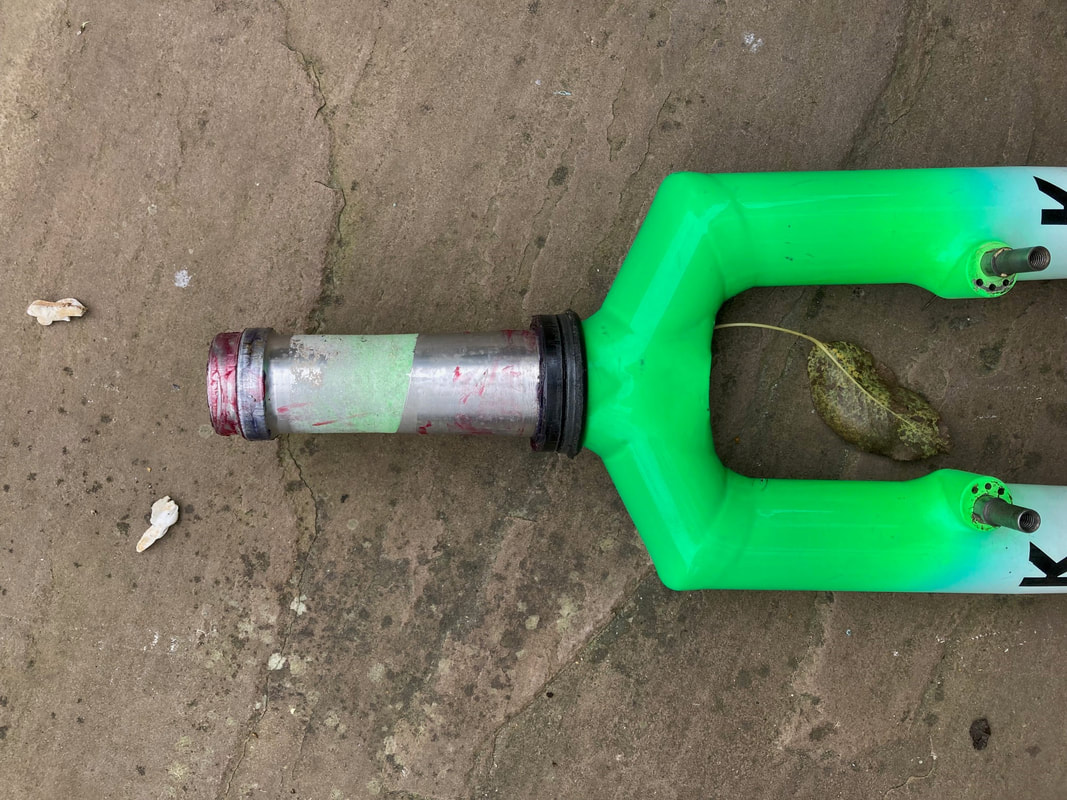
Remaining upper bearing and as above lower seal and bearing have come out with the fork
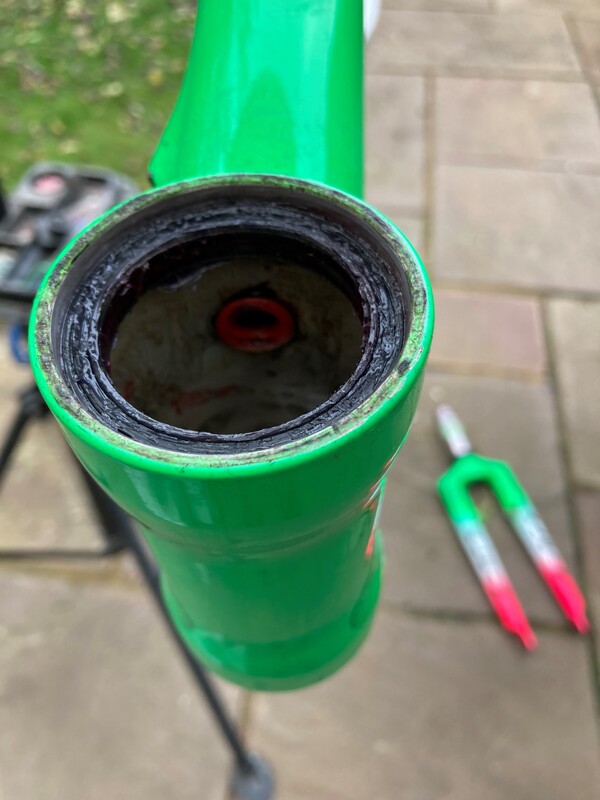
Klein MC1 Fork Install (Without Klein MC1 Install Headset Tool) Using Parts of MC2 Toolset
1. Install Lower Rubber Seal
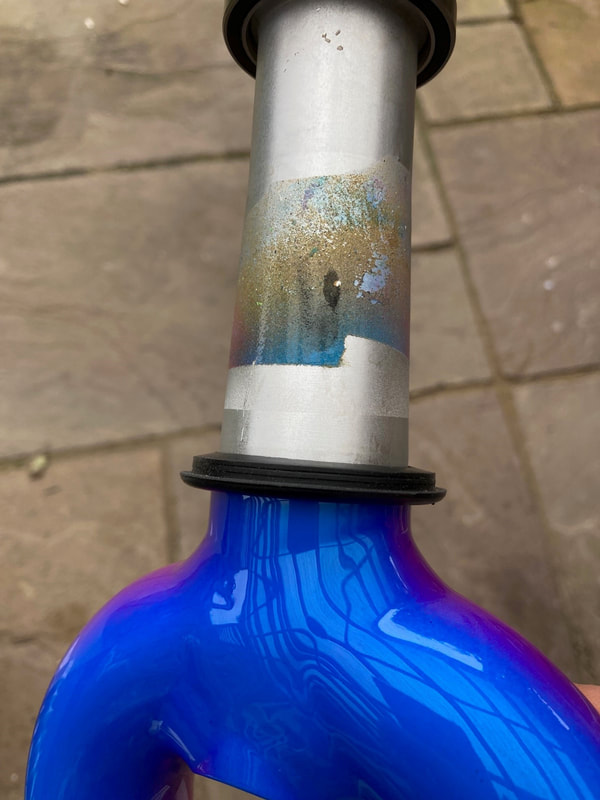
Press/push on by hand the lower bearing squarely to get it started
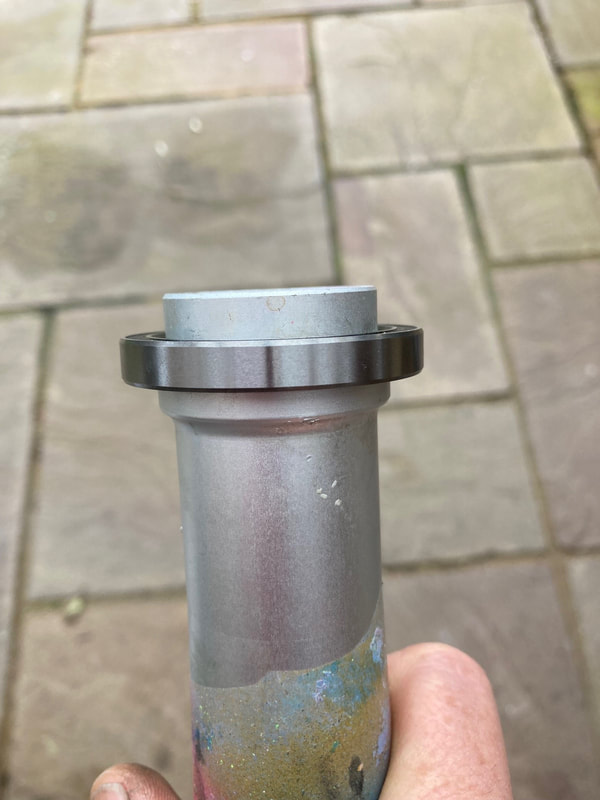
Tap bearing down with a pin hammer evenly. 2 taps left side then right side etc until the bearing passes the upper position and drops further down the steerer
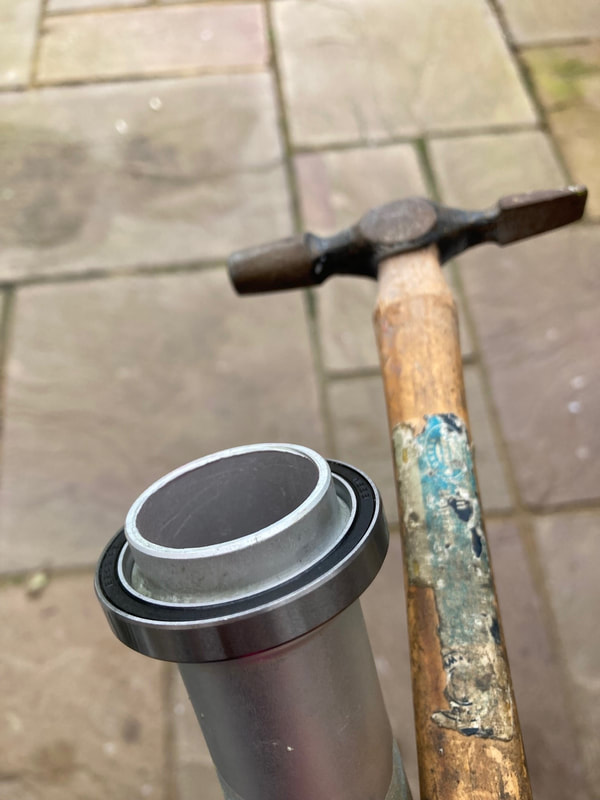
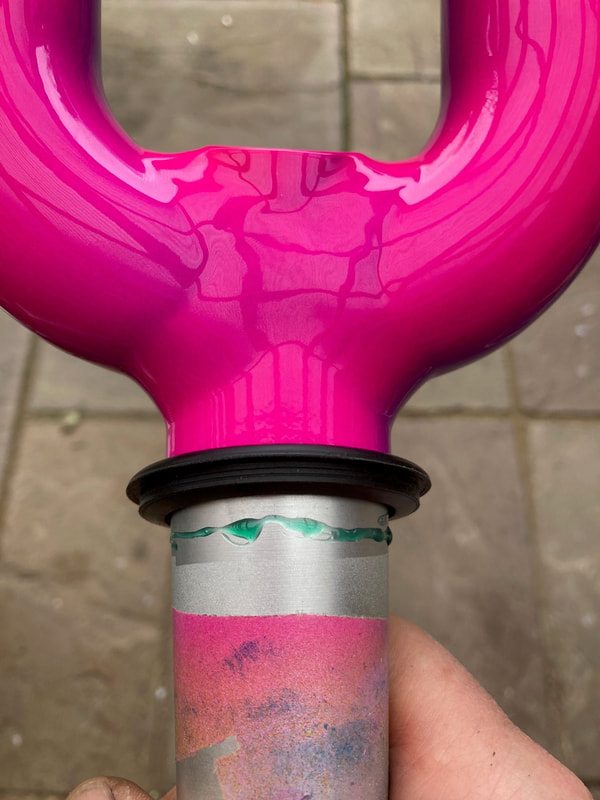
Apply 638 Loctite to the lower bearing contact area above the seal and around the lower seal
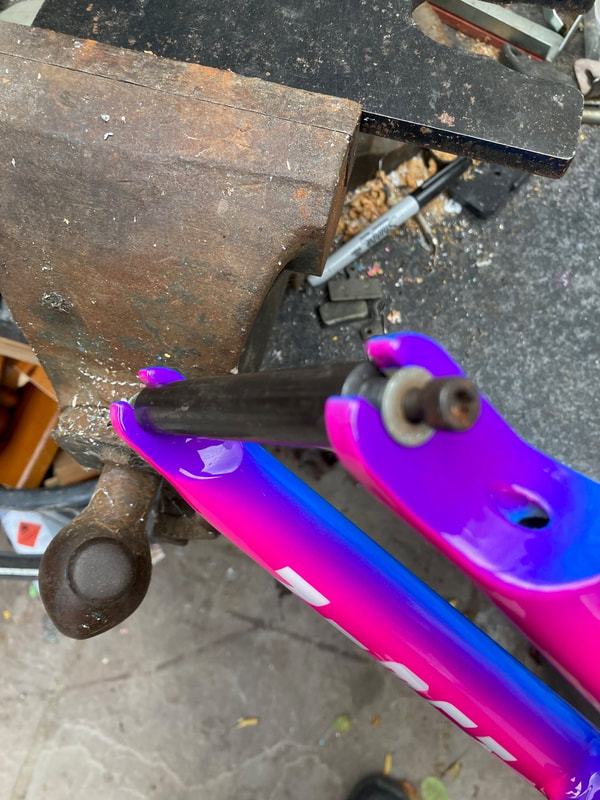
Hammer the lower bearing into position using the drop out tool below
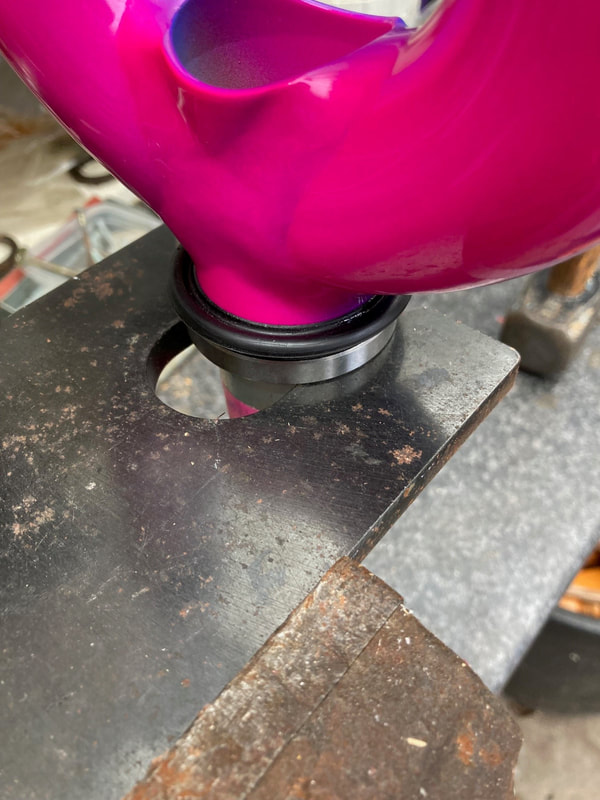
You may need to pull the legs apart very slightly to get the axle to drop into the dropouts without damaging the paint
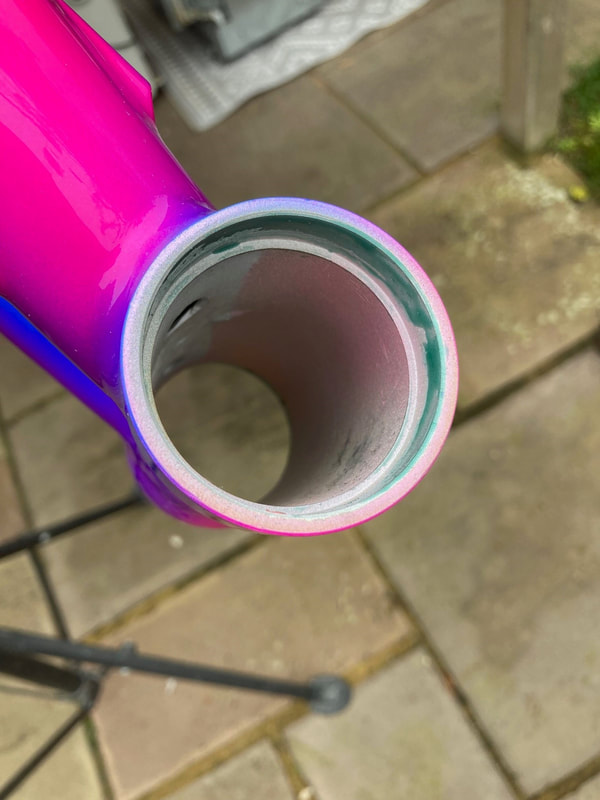
Apply Loctite 638 to the inside of the head tube. (Upper and Lower)
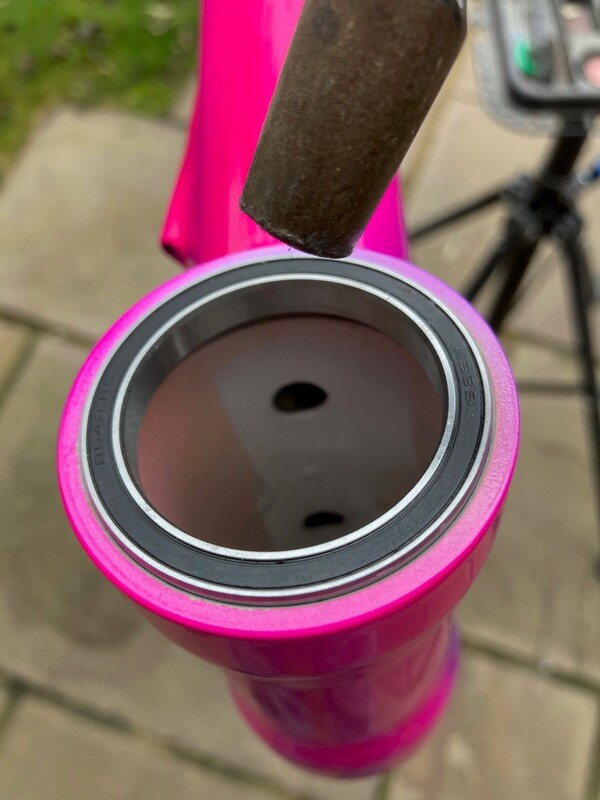
Seat the top bearing squarely with the pin hammer until slightly below the head tube profile. Strike on the inside edge to avoid striking the paint
Then use the large drift to seat the top bearing fully using a 2 1/2 lb hammer holding the head tubeunderneath
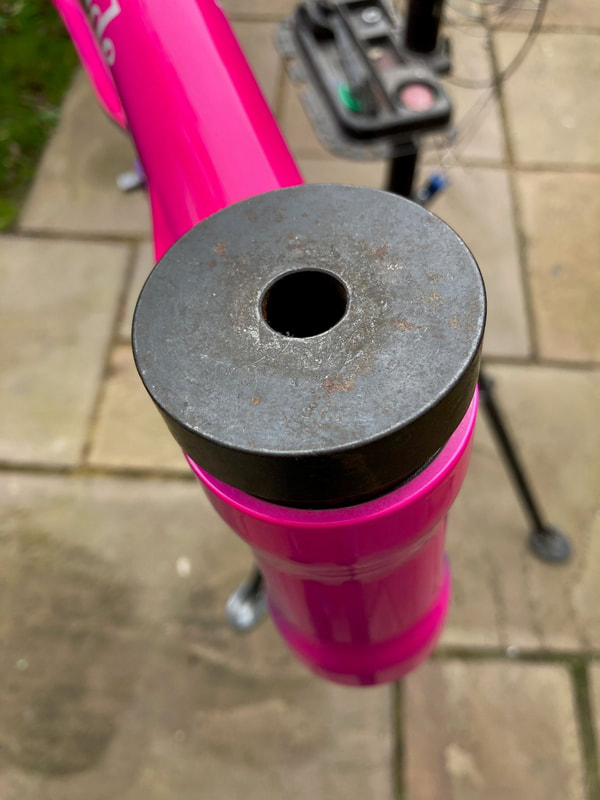
Now seated
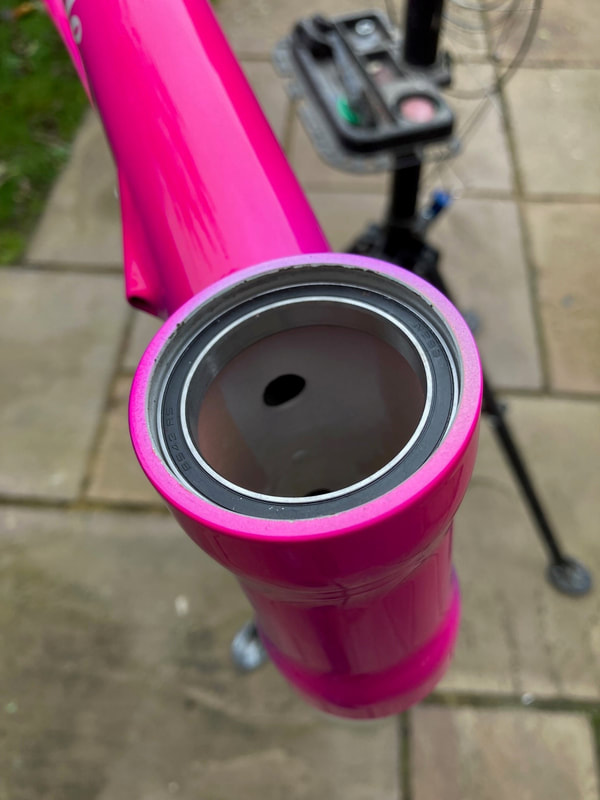
Push up the steerer into the top bearing so it is centered
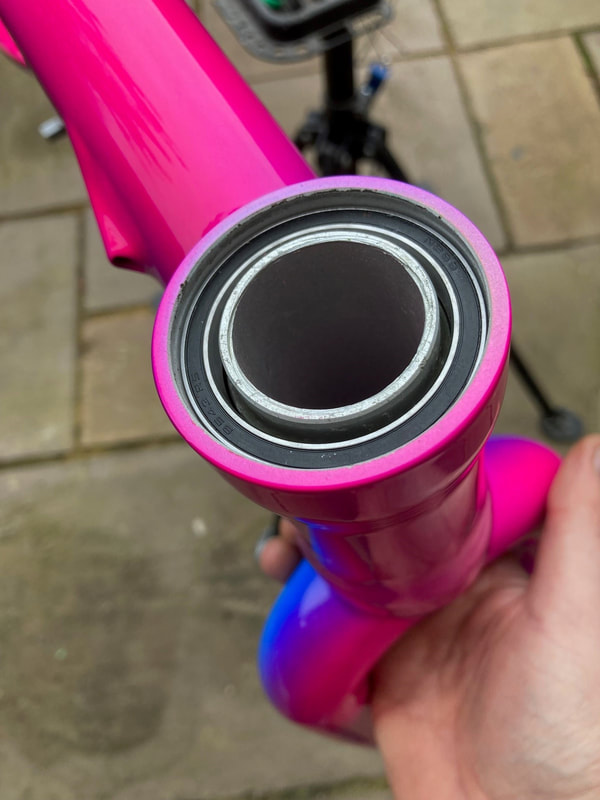
Turn the fuselage over on a soft surface
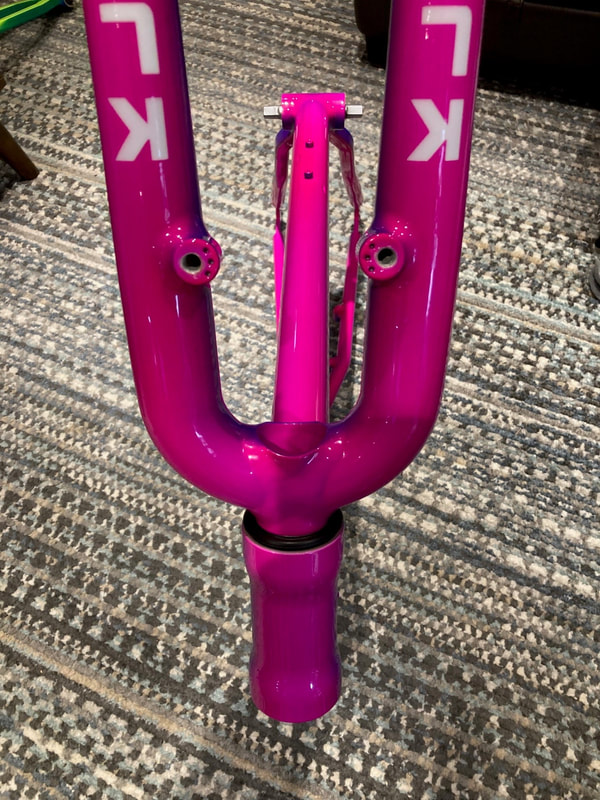
Hold the head tube between you legs
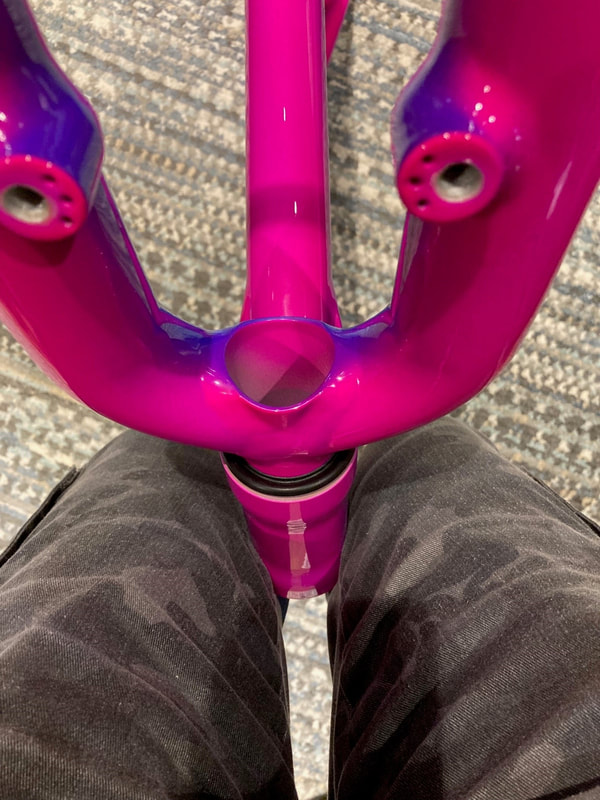
Again use the drop out axle to hammer the steerer in making sure it is lined up with the upper bearing. After 2-3 strikes if you've got it right the sound with change to a higher pitched sound
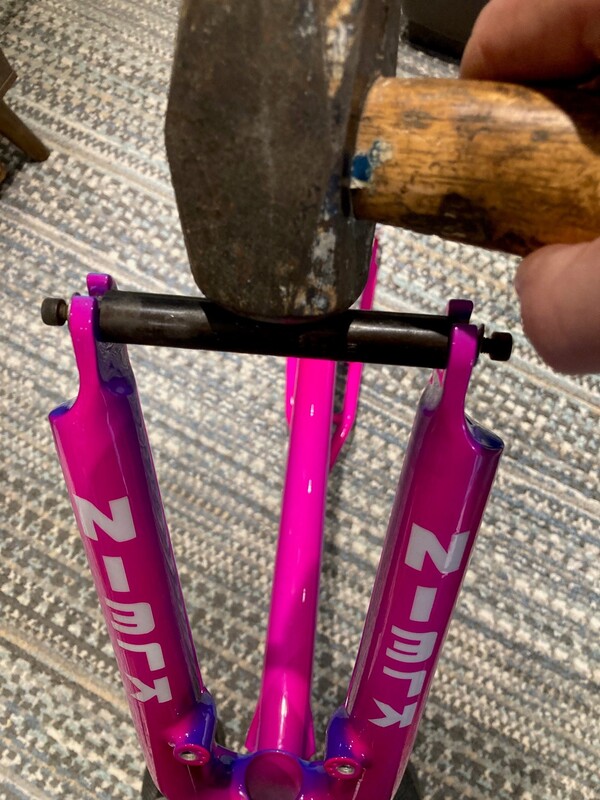
The top bearing may have moved slightly. To re-seat turn back over with the fork on the ground. Use the pin hammer again going around with light strikes. Again once seated the sound will be higher pitched
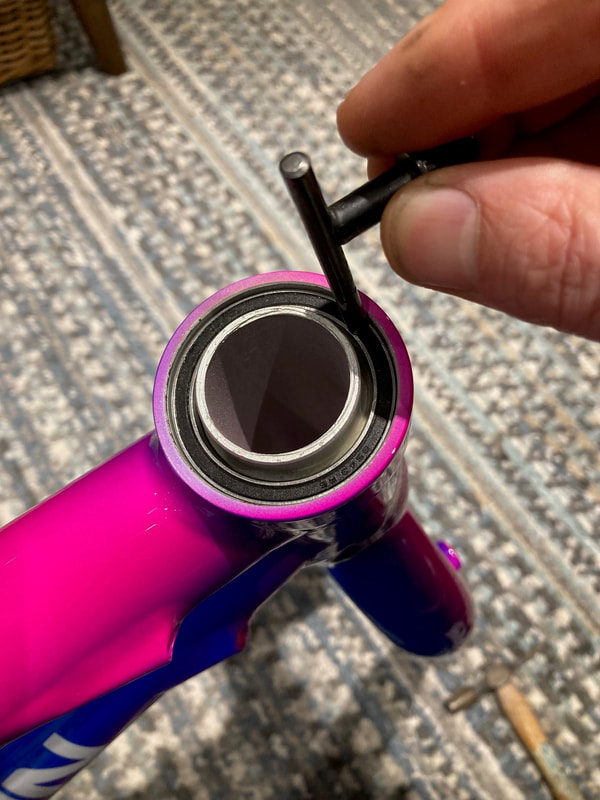
You can always turn over the bike and give another firm strike with the axle tool again to make sure its fully home
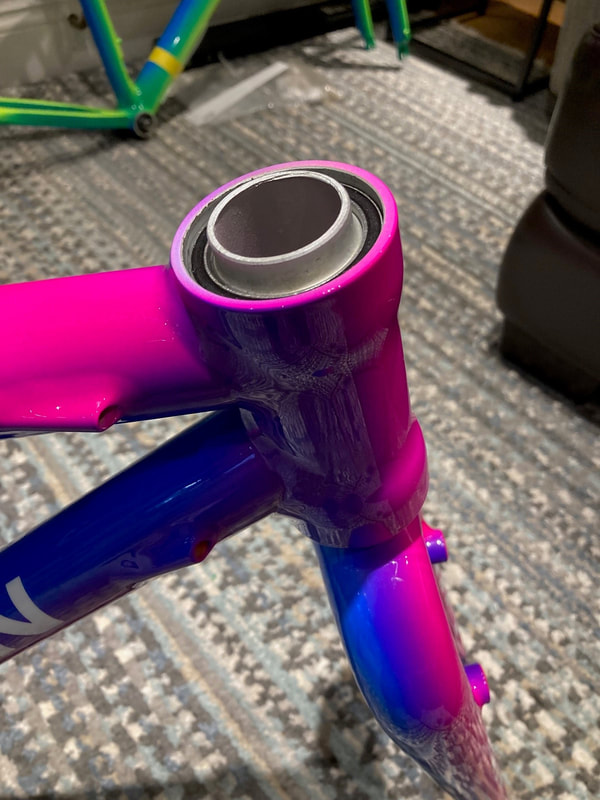
Check the lower seal is seated correctly. Leave over night so the seal can cure in position after removing any sticky residue on the frame with a dry rag/cloth